Bathroom
Tips for Drilling Ceramic Tile Without Cracks
Drill Ceramic Tile Tips for a Clean and Crack-Free Finish
Drilling into tile may sound intimidating, but the right drill ceramic tile tips and tools make it much easier. Whether you are mounting hardware or adding decor, this task becomes manageable with some preparation. Understanding your tile type and following expert guidance ensures better results with less risk of damage.
Know Your Tile Before You Drill
Before you begin, it’s important to know what type of tile you are working with. Not all tiles are the same.
Ceramic Tile
Ceramic is common and softer than porcelain. It drills more easily but still requires proper technique to avoid cracking or chipping.
Porcelain Tile
Porcelain is harder and denser. It requires stronger drill bits and added care to avoid damage during the drilling process.
Glass Tile
Glass is the most delicate option. You must drill slowly and steadily to avoid shattering or leaving rough edges.
Tools You’ll Need to Drill Tile
Having the correct tools is essential. Without the right equipment, you risk cracking tiles or damaging your wall.
Essential Drill Bits
Use a carbide-tipped masonry bit for ceramic tiles. It handles the surface gently and produces clean holes without splintering.
If you’re unsure of your tile type or working with harder materials, choose a diamond-tipped bit for greater effectiveness.
Other Required Items
Gather these before you begin:
- Power drill
- Masking tape
- Level
- Pencil or marker
- Safety glasses
- Dust mask
- Spray bottle with water
Safety Comes First When Drilling
Never skip safety measures when working with tools and tiles. Accidents are preventable with a little planning.
Wear the Right Gear
Use safety glasses and gloves to protect your face and hands. Always wear a dust mask to avoid inhaling silica dust.
Control the Dust
Use a spray bottle during drilling to reduce dust. Keep your area ventilated and use a vacuum for immediate cleanup afterward.
The Step-by-Step Drilling Process
Following each step closely ensures better accuracy and a professional-looking result. Let’s break it down.
Step 1: Measure and Mark
Always measure three times and mark once. Use a level to keep your marks aligned if you’re installing multiple fixtures.
Mark the center of the tile, not the edge. Tile edges are more prone to cracking under drilling pressure.
Step 2: Apply Masking Tape
Place masking tape over your marks. This adds grip and prevents the drill bit from sliding during the first few seconds.
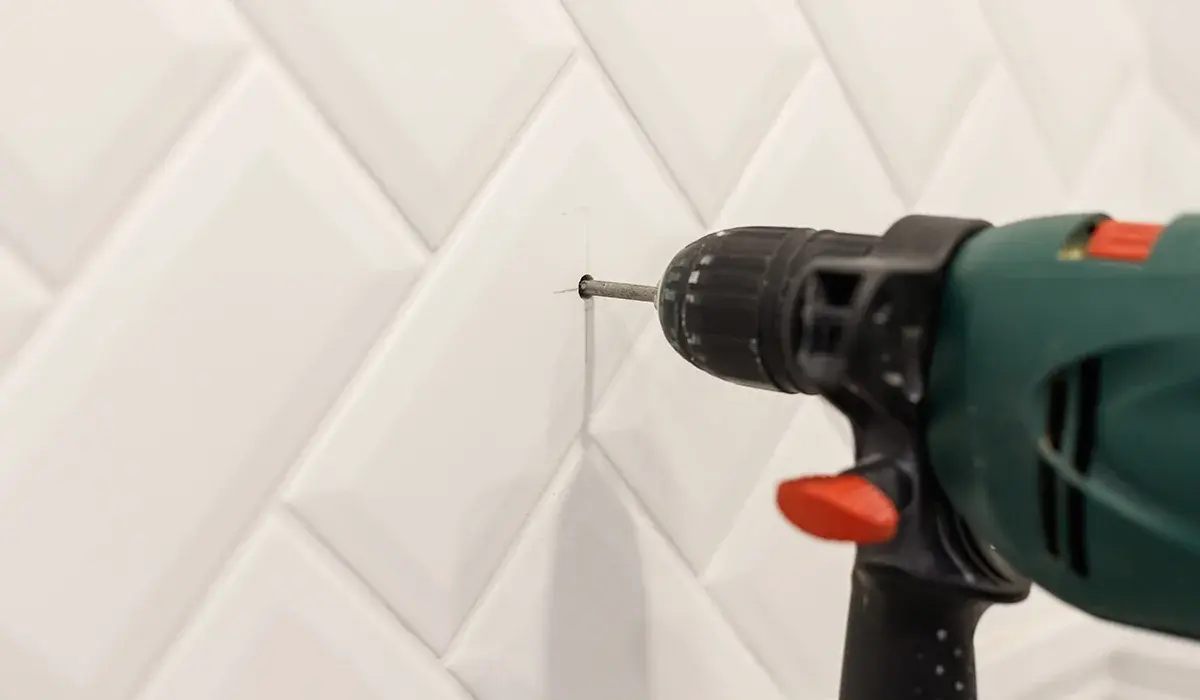
Step 3: Drill Slowly and Evenly
Using your drill at a low speed, apply light pressure. Spray water as you go to cool the bit and reduce cracking.
Once you pierce the tile’s surface, increase speed slightly. Keep your hand steady and maintain medium pressure throughout.
Avoid using full speed. It may cause overheating and damage. Let the drill and bit do the work gradually.
Drill Ceramic Tile Tips You Should Know
Here are additional Drill Ceramic Tile Tips to improve success and reduce the chance of breakage while working.
- Start slow and increase gradually.
- Use water to cool the bit and reduce friction.
- Always drill straight to prevent angled holes or cracking.
- Never use hammer drill mode on tile surfaces.
These Drill Ceramic Tile Tips apply whether you’re drilling one hole or completing a full installation. Precision always matters.
Drilling Larger Holes in Tile
Sometimes, small holes aren’t enough. If you’re installing pipes or large fixtures, you’ll need bigger holes.
Using a Hole Saw
Use a carbide-grit hole saw for clean, circular openings. Add an arbor attachment to mount it on your drill properly.
Mark the center point, spray with water, and drill slowly. Keep the saw steady and apply constant pressure throughout.
Alternative Large Hole Method
If you lack a hole saw, create a circle using smaller drill holes around the edge.
Tap gently inside the ring to remove the center. The result won’t be perfect, but it works for concealed installations.
Troubleshooting Common Problems
Mistakes happen, even with good planning. Here’s how to handle the most common issues when drilling tile.
Cracked Tiles
Stop drilling if you see cracks. If minor, hide them with fixtures. For major cracks, replace the tile completely.
Avoid future cracks by drilling slowly, using sharp bits, and following proper procedures based on your tile type.
Slippery Drill Bits
Bits often slip on glazed surfaces. Use masking tape for better traction, and always start with light, steady pressure.
Check your bit before each project. A worn or dull tip will struggle to grip and may damage your tile.
Final Touches After Drilling
Once your holes are ready, vacuum the area and wipe away dust. Clean surfaces help adhesive or caulk bond more effectively.
Insert wall anchors if needed. These add support for heavy items and help prevent tiles from cracking under pressure later.
Conclusion
Drilling tile doesn’t have to be frustrating or risky. With these Drill Ceramic Tile Tips, your results will improve instantly. Prepare well, use the correct tools, and follow proper safety protocols from start to finish.
For more helpful DIY tips and expert home improvement advice, explore more news on this website today!