Painting
Step-by-Step Guide to Cleaning Paint Rollers
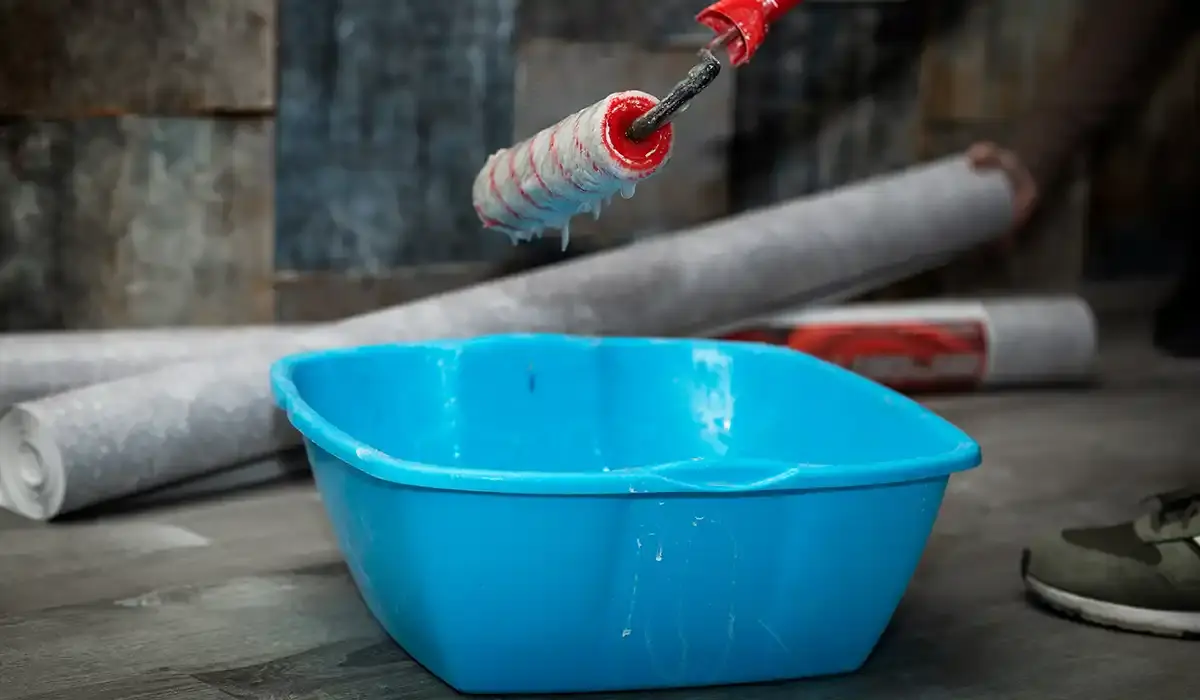
Cleaning Paint Rollers Guide: Keep Your Painting Tools in Top Shape
Paint rollers are essential for quickly transforming walls, ceilings, or furniture surfaces with smooth, even coverage. They work faster than brushes, cover large areas efficiently, and adapt to different textures. With proper care, these versatile painting tools can last for multiple projects. Instead of replacing rollers after each use, you can save money and achieve better finishes by cleaning them thoroughly. Maintaining clean rollers, frames, and trays ensures professional results every time while reducing waste.
You might also enjoy the articles on our other site: Revlon Partners With Guy Fieri to Launch Wing-Inspired ‘Flavortown’ Lip Balm
Why Cleaning Paint Rollers Matters
Regular cleaning keeps roller fibers soft and absorbent for consistent paint application. Dirty rollers cause streaks, uneven coats, and wasted paint. Furthermore, caring for your painting tools reduces costs over time while helping you work more efficiently.
How Often to Clean a Paint Roller
Always clean paint rollers at the end of each painting session. Fresh, wet paint is much easier to remove than dried residue. Do not forget the roller frame and paint tray—they need cleaning too for optimal performance.
Essential Supplies for Roller Cleaning
Before you start, gather all necessary tools and materials to avoid interruptions during the process.
Tools You’ll Need:
- Bucket
- Putty knife
- Stiff-bristled brush
- Rubber gloves
- Eye protection
Materials You’ll Need:
- Dishwashing liquid
- Mineral spirits
- Newspaper
- Old rags
- Disposable container
Cleaning Latex or Water-Based Paint from Rollers
Follow these steps for fast, effective cleaning when working with latex or water-based paints.
Step 1 – Remove Excess Paint
Use a putty knife to scrape paint back into the can. Rotate the roller gently for even scraping.
Step 2 – Clean the Roller Frame
Wear gloves, remove the roller cover, and clean the frame in warm, soapy water using a stiff-bristled brush.
Step 3 – Wash the Roller Cover
Submerge the roller in warm, soapy water. Massage paint out of the fibers until the water runs mostly clear.
Step 4 – Rinse Thoroughly
Rinse under clean water for several minutes, ensuring no paint remains trapped in the roller fibers.
Step 5 – Dry Properly
Stand the roller upright or hang it to dry. Avoid placing it on its side to prevent fiber damage.
Step 6 – Clean the Paint Tray
Scrub with warm, soapy water. For plastic trays, you can let paint dry completely, then peel it away.
Step 7 – Dispose of Cleaning Water Safely
Never pour paint-filled water into storm drains. Use a sewer-connected drain to protect the environment.
Cleaning Paint Rollers Guide for Oil-Based Paint
Oil-based paints require solvents like mineral spirits for thorough cleaning. The process is similar to water-based paint but needs extra care.
Step 1 – Remove Excess Paint
Scrape off as much paint as possible before using any cleaning solvent.
Step 2 – Clean the Roller Frame and Tray
Dampen a rag with mineral spirits and scrub away oil-based paint. Use a brush for stubborn spots.
Step 3 – Soak the Roller Cover in Solvent
Place the roller in a small bucket filled with mineral spirits. Work the solvent through fibers for five to ten minutes.
Step 4 – Rinse and Repeat if Necessary
Squeeze out solvent, then soak in fresh mineral spirits. Continue until no paint remains in the roller cover.
Step 5 – Final Soap Wash
Wash in warm, soapy water to remove remaining solvent residue. Rinse thoroughly for a clean finish.
Step 6 – Dry Completely
Stand the roller on its end or hang it for proper drying. Avoid compressing the fibers.
Step 7 – Dispose of Solvent Safely
Pour used solvent into a disposable container. Follow local rules for proper hazardous waste disposal.
Tips for Maintaining Paint Rollers
- Always store rollers in a clean, dry place.
- Avoid soaking wooden handles for long periods.
- Use a roller spinner for faster drying.
- Wrap clean rollers in plastic wrap for short-term storage between coats.
Common Cleaning Mistakes to Avoid
- Waiting until paint dries before cleaning—this makes removal difficult.
- Using the wrong solvent for the paint type.
- Storing rollers while damp, which can cause mildew or fiber damage.
Conclusion
Following this Cleaning Paint Rollers Guide ensures your tools stay in top condition for every project. Clean rollers deliver smoother finishes, save money, and extend the lifespan of your painting equipment. With proper maintenance, you’ll be ready for your next project without needing constant replacements.
You might also enjoy the articles on our other site: Is My Child Old Enough for the Front Seat?
For more expert DIY and home improvement tips, explore more news on this website.