Roofing
How to Install Vinyl Plank Flooring Like a Pro
How to Install Vinyl Plank Flooring Like a Pro
If you’re looking to install vinyl plank flooring, you’re in the right place. Vinyl plank flooring is affordable, durable, and simple to install yourself. Whether you’re upgrading a room or starting from scratch, following the right steps can help you achieve a flawless installation.
Why Choose Vinyl Plank Flooring?
Vinyl plank flooring offers a cost-effective solution that mimics the look of hardwood without the high price tag. It’s water-resistant, durable, and resistant to scratches, making it ideal for high-traffic areas. Installing vinyl plank flooring is easy, especially when you choose click-lock styles that don’t require glue.
Step-by-Step Guide to Install Vinyl Plank Flooring
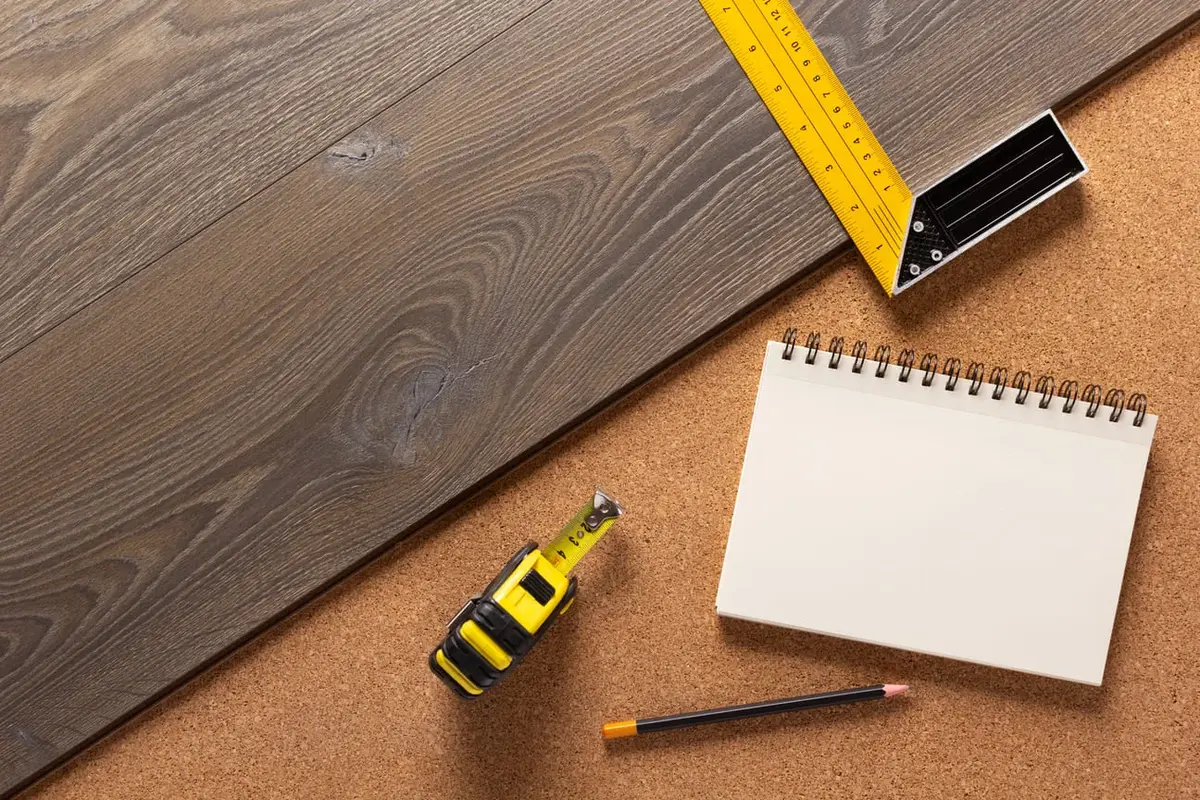
- Prepare the Subfloor
Before you install vinyl plank flooring, ensure the subfloor is smooth and level. Fix any cracks or warps to avoid imperfections. If necessary, sand the subfloor or use a leveling compound for a smooth base. - Acclimate the Vinyl Planks
Leave the vinyl planks in the room for at least two days before installation. This step helps the planks adjust to the room’s temperature and humidity, preventing gaps or buckling. - Install Underlayment (If Needed)
Some vinyl planks come with pre-attached underlayment, which simplifies installation. If not, roll out underlayment to reduce noise and provide extra cushioning. Ensure the seams don’t overlap and tape them together.

- Measure and Cut the Planks
Measure the room to avoid narrow slivers of planks along the edges. If necessary, cut the first row to fit, and stagger seams for a natural look. For the perfect fit, use a utility knife or jigsaw to cut planks. - Install the First Row
Begin in a corner and use spacers to leave a gap between the wall and the planks. Connect each plank using the click-lock system, tapping them into place with a tapping block and mallet. - Continue Installing Rows
Work row by row, ensuring seams are staggered for a more realistic look. Cut planks to fit around obstacles like vents and door frames. Use off-cuts to start new rows, minimizing waste. - Final Touches
Once all planks are installed, reattach the baseboards and trim. Make sure there’s no visible gap between the wall and the floor.
By following these steps, you can install vinyl plank flooring like a professional, saving time and money.
**Want more home improvement tips? **Explore more news on this website!