Lightning & Electrical
How to Safely Replace a Light Fixture
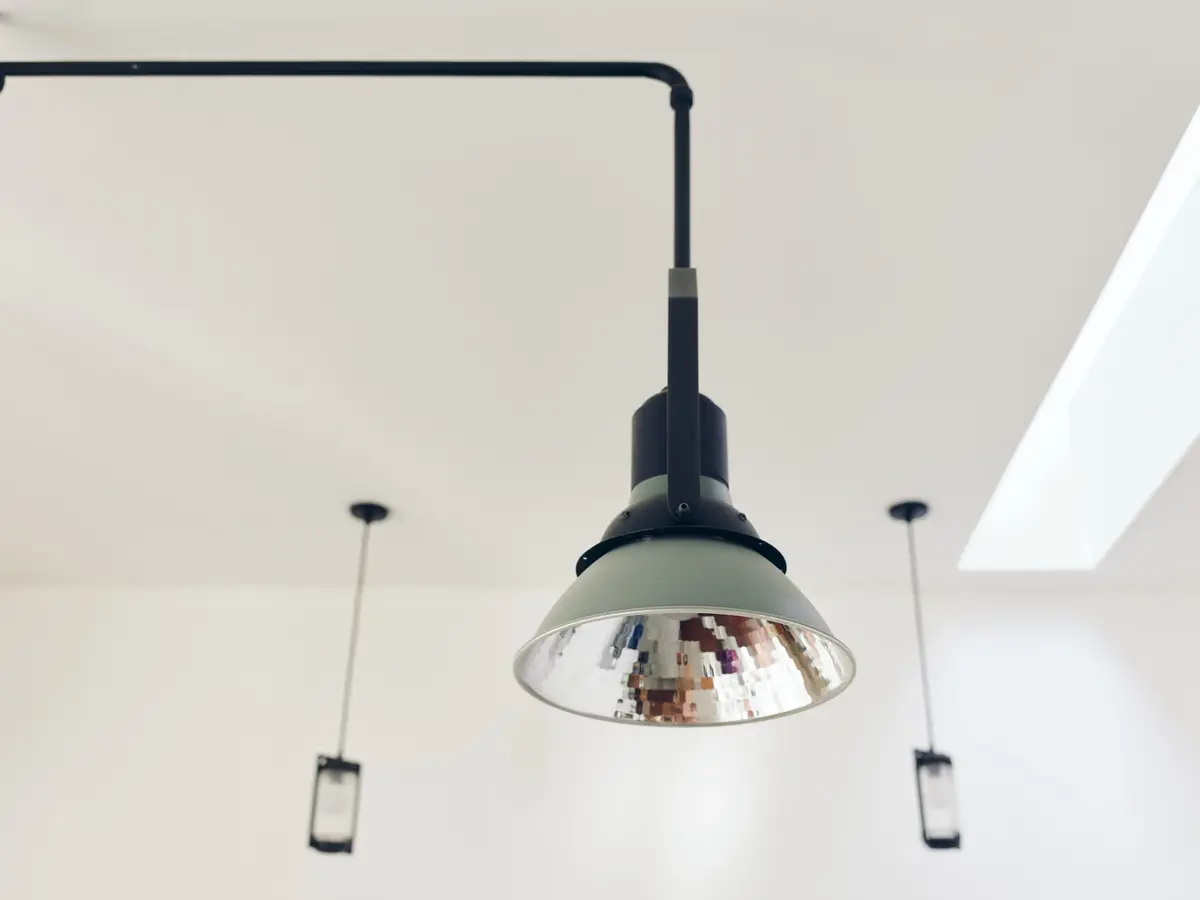
Replacing a ceiling light fixture is a simple project that can refresh any room. Here’s a step-by-step guide to help you replace your fixture safely and effectively.
Preparation:
- Turn off the power: Ensure the circuit breaker controlling the light is turned off to avoid any accidents.
- Gather your tools and materials:
- Tools: Flat screwdriver, Philips screwdriver, stepladder, voltage tester, wire strippers
- Materials: Grounding pigtail, light fixture, wire nuts
Step-by-Step Process:
Step 1: Turn off the Power
Before beginning any electrical work, ensure the power to the light fixture is completely turned off at the breaker box. Use a voltage tester to double-check that no current is running through the wires.
Step 2: Remove the Old Fixture
- Unscrew the canopy (the decorative cover that hides the wires).
- Use a voltage tester to verify that the wires in the ceiling box are not live.
- Unscrew the mounting screws that hold the fixture in place and disconnect the wires. Keep track of the connections (e.g., which wires are connected to the hot, neutral, and ground).
- Inspect the wires to ensure there’s no damage or exposed wiring.
Step 3: Install the Mounting Bracket
- Mount the new fixture’s bracket (or crossbar) to the electrical box using machine screws.
- Insert the threaded pipe through the bracket and tighten it with a locknut. This pipe will later connect to the light fixture.
Step 4: Assemble the Fixture on the Ground
- Thread the wires through the pipe on the new fixture.
- If the fixture has a chain, adjust it to your desired length.
- Install any necessary sloped ceiling adapters if your ceiling is not flat.
- Ensure the fixture components are properly assembled before you lift it up onto the ladder.
Step 5: Connect the Wires
- Start by connecting the ground wire to the ground screw on the bracket or fixture.
- Connect the neutral (white) wire from the fixture to the white wires in the ceiling box.
- Connect the hot (usually black or red) wire from the fixture to the hot wire(s) in the ceiling.
- Secure each connection with wire nuts, ensuring that all wire ends are fully covered.
Step 6: Secure the Fixture
- Carefully tuck the wire connections into the ceiling box.
- Slide the canopy over the threaded pipe and tighten it with the decorative nut.
Step 7: Install the Light Bulbs and Test the Fixture
- Install the glass shades and light bulbs.
- Restore the power and test the fixture by flipping the light switch to ensure it works correctly.
FAQ
- Can you hang light fixtures on sloped ceilings?
- Not all light fixtures are suitable for sloped ceilings. Ensure your fixture comes with a slope ceiling adapter.
- What if the mounting screws are too long?
- Use wire strippers with built-in bolt cutters or a hacksaw to trim the screws to the correct length.
- How can you extend short wires in the box?
- Use a pigtail (a short wire) and stab-in connectors to extend the wire length to make connections easier.
With these steps, you’ll be able to safely and efficiently replace your light fixture, giving your space a fresh new look!
Continue Reading