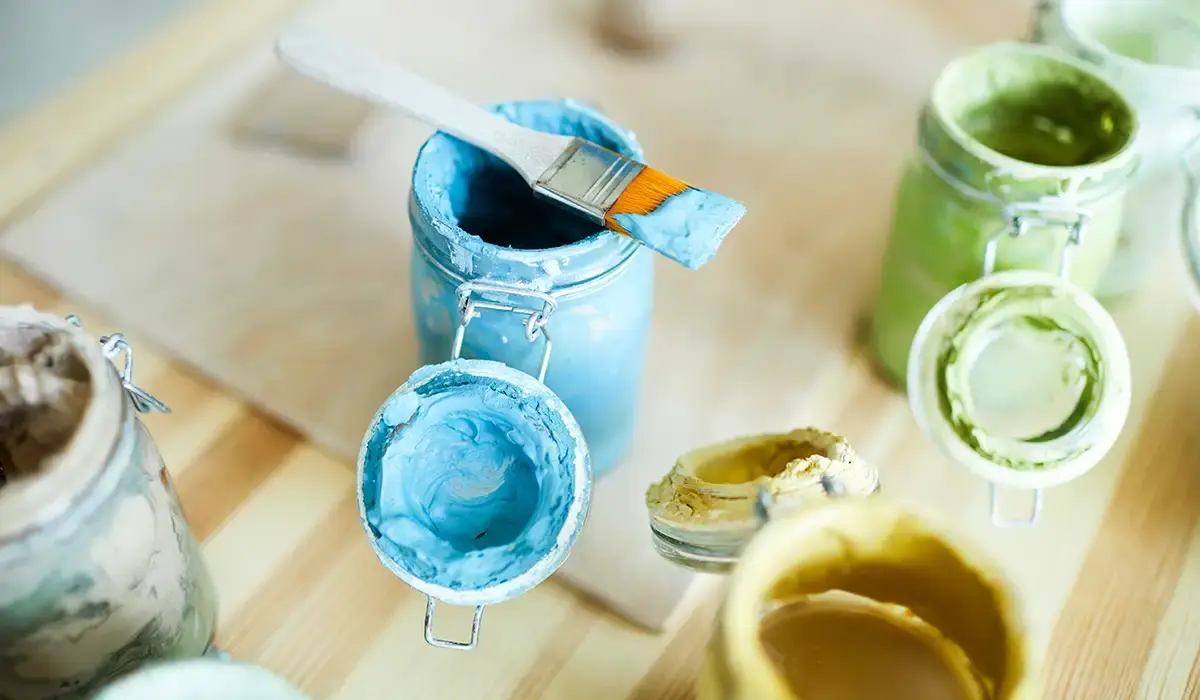
Painting
Can You Paint Indoors on a Humid Day? Experts Weigh In
Indoor Painting Humidity Tips: How to Paint Right in Moist Conditions
Humidity plays a significant role in how paint dries, adheres, and lasts on your home’s interior walls or ceilings.
In this article, we’ll explore Indoor Painting Humidity Tips to help you avoid costly mistakes and ensure professional-looking results.
Why Humidity Affects Interior Paint Jobs
Although painting indoors might seem weatherproof, humidity can make or break your painting project from the very beginning.
High humidity slows drying time, affects adhesion, encourages mold, and can severely impact your paint’s long-term appearance and durability.
Drying Time Suffers with High Humidity
Paint needs proper airflow and low humidity to dry quickly and evenly after application to your walls or ceilings.
However, when indoor air contains too much moisture, drying takes significantly longer and can leave streaks or drips behind.
Brandon Walker from ASAP Restoration notes that humidity during different hours creates inconsistent finishes even within the same room.
This is one of the most important Indoor Painting Humidity Tips homeowners should understand before starting their paint projects.
Longer drying times also delay your second coat, requiring additional prep time and possibly affecting your entire project schedule.
Poor Adhesion Leads to Uneven Results
In damp conditions, paint struggles to bond properly to surfaces, which reduces coverage, finish quality, and overall durability.
Walker explains that inadequate adhesion makes applying additional coats harder, increasing effort and potentially wasting expensive materials.
Paint that does not stick well can peel, bubble, or flake within weeks—resulting in repairs and extra labor later.
One of the most critical Indoor Painting Humidity Tips is to check moisture levels before picking up a brush.
Humidity Increases Mold and Mildew Risk
High humidity creates a perfect breeding ground for mildew, especially if trapped beneath freshly applied layers of interior paint.
Walker warns that mold spores can embed in the paint layer, ruining appearance and requiring complete repainting sooner than expected.
Once trapped in a painted surface, mold becomes harder to remove and affects your indoor air quality and health long-term.
This is especially important in high-humidity zones like bathrooms, laundry rooms, and kitchens with limited ventilation options.
Paint Damage Can Appear Over Time
Sometimes, humidity damage doesn’t show up immediately—it creeps in months after your painting project seems complete and successful.
Dennis Fiorilli from Sherwin-Williams says that humidity can eventually cause cracking, blistering, and chemical discoloration of painted walls.
Even cured paint jobs deteriorate when regularly exposed to high moisture, especially if airflow and temperature remain poorly managed.
These long-term issues reinforce the importance of following expert Indoor Painting Humidity Tips for lasting color and surface quality.
You might also enjoy the articles on our other site: How to Dress Your Baby for Sleep in Any Temperature
Select Paints Designed for Moist Conditions
Not all paints perform equally in humid environments, so choosing the right one helps you avoid many preventable problems.
Walker advises skipping flat paint in favor of satin, semi-gloss, or high-gloss finishes that repel moisture more effectively.
Glossy paints are less absorbent and easier to clean, making them ideal for humid rooms prone to moisture and mildew.
Some premium paints include anti-mildew agents that help prevent fungus from growing on walls, especially in bathrooms or basements.
Although these paints cost more, they reduce long-term maintenance and maintain color vibrancy in humidity-prone spaces.
Always Measure Humidity Before Painting
Before opening your paint cans, measure the room’s relative humidity using an affordable digital hygrometer or moisture meter.
Walker says many moisture meters cost under $30 and provide accurate data about room conditions before beginning your project.
Fiorilli recommends aiming for 50% relative humidity at 77°F for optimal paint application and long-lasting results in any room.
Monitoring the environment remains one of the most practical Indoor Painting Humidity Tips that even professional painters follow carefully.
Reduce Humidity Before You Begin Painting
Start reducing room humidity 24 hours before painting to stabilize the environment and improve paint performance from the start.
If your home has central air, run it at a consistent temperature while ensuring no vents blow dust onto wet surfaces.
Walker emphasizes maintaining this controlled climate for at least 24 hours after your final coat to ensure proper curing.
Paint continues curing after it feels dry to the touch, so moisture must stay low during the full curing timeline.
Use a Dehumidifier to Control Moisture
Sometimes air conditioning alone cannot manage moisture levels, especially during stormy or rainy days with naturally higher humidity.
In these cases, use a dehumidifier to extract excess water vapor and maintain a stable environment before and after painting.
Walker says running machines may increase energy costs slightly, but the improvement in finish quality outweighs those extra dollars.
Additionally, check your walls with your hand—if they feel damp or cool, delay your painting project until conditions improve.
When in Doubt, Just Wait to Paint
Even the most experienced contractors postpone interior painting projects if humidity levels exceed safe operating conditions.
Walker reminds homeowners that painting in the wrong environment causes more trouble than simply waiting for better conditions.
As he says, “You wouldn’t build a roof in the rain, so don’t paint when it’s that wet either.”
You might also enjoy the articles on our other site: 10 Best Baby Shows to Watch in 2025
Final Thoughts on Indoor Painting Success
Humidity plays a massive role in painting success, even for interior jobs you assume are unaffected by outside conditions.
Using these expert Indoor Painting Humidity Tips, you’ll achieve smoother finishes, better adhesion, and longer-lasting paint results indoors.
Always prioritize timing, tools, temperature, and moisture control before painting—your walls (and wallet) will thank you later.
Want more practical renovation guides like these Indoor Painting Humidity Tips?
Explore expert how-tos, project breakdowns, and home improvement advice by browsing the rest of our articles on this website today!