Roofing
How to Install Engineered Hardwood Floors Step by Step
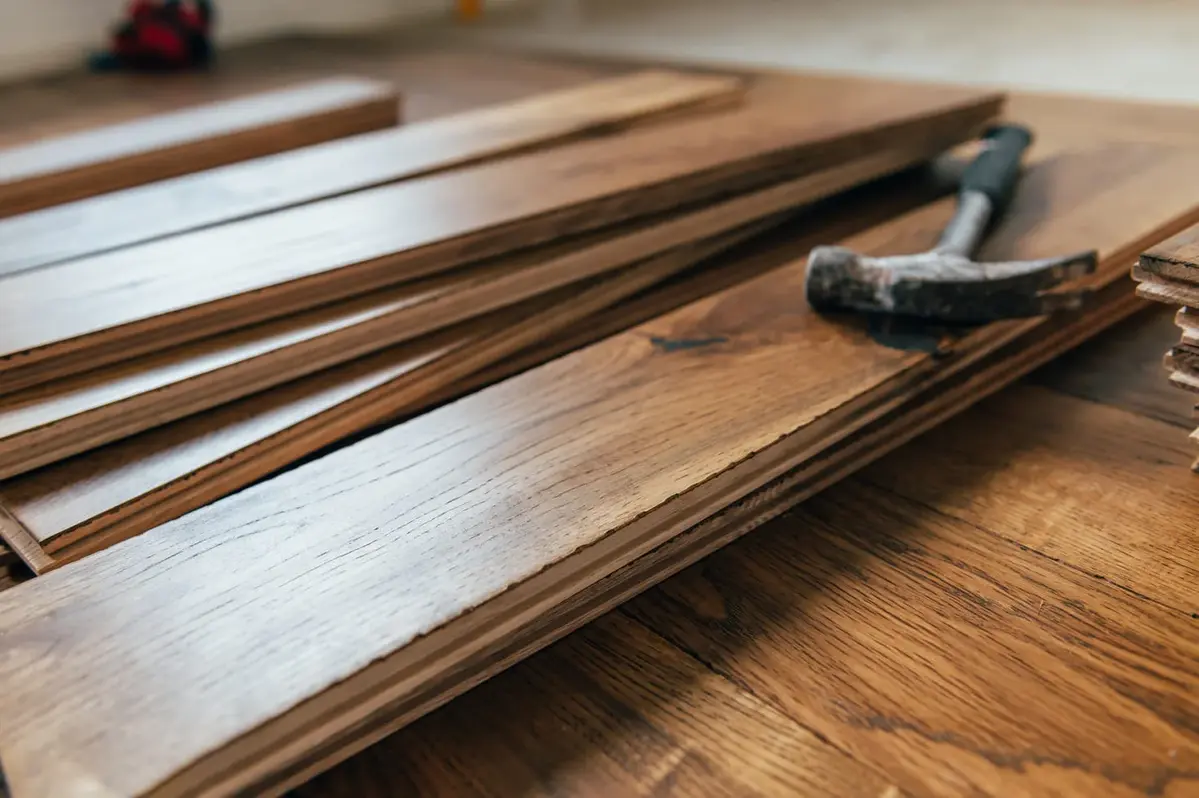
Installing engineered hardwood floors is an excellent choice for homeowners seeking the beauty of hardwood with added affordability and ease of installation. Engineered hardwood looks nearly identical to solid wood, but it costs significantly less and is more durable. This guide explains how to install engineered hardwood floors efficiently and effectively, whether you’re a DIY enthusiast or simply looking to refresh your space.
What is Engineered Hardwood Flooring?
Engineered hardwood is made of multiple layers bonded together, with a top layer of real wood. Unlike solid hardwood, engineered flooring is designed to resist warping and shifting due to moisture and temperature changes. This makes it a great option for many areas in your home.
Preparation Before You Install Engineered Hardwood Floors
Before diving into the installation process, make sure your subfloor is clean, level, and dry. Here’s what you need to do:
- Acclimate the Flooring: Let your engineered hardwood boards sit in the room for 24 hours to adjust to the room’s temperature and humidity. This step is crucial to avoid buckling or gaps later on.
- Prepare the Subfloor: Repair any damages in the subfloor. Use a level to ensure the surface is flat, and fill in any cracks or holes with a concrete patch.
- Remove Baseboards: Use a pry bar to carefully remove baseboards around the room. This will allow the new floor to expand and contract without obstruction.
Steps to Install Engineered Hardwood Floors
Now, it’s time to install your engineered hardwood flooring. Depending on your preferences, you can choose one of the following installation methods: floating, glue-down, or nail-down.
Step 1: Floating Engineered Hardwood Flooring
- Place the First Plank: Begin in one corner of the room, leaving a ¼-inch gap between the wall and the board using spacers.
- Click and Lock: If using click-lock flooring, insert the tongue of the next plank into the groove at a 45-degree angle, then lower it to lock it into place.
- Cut the Last Row: The last row might need to be trimmed to fit the room. Use a table saw for precise cuts.
Step 2: Glue-Down Engineered Hardwood Flooring
- Apply Adhesive: Spread glue evenly over a small section of the subfloor using a notched trowel.
- Install Planks: Lay the first plank into the adhesive, pressing down firmly to ensure it sticks. Use spacers around the edges to maintain a gap.
- Tap Planks into Place: Use a tapping block and mallet to tighten each plank next to the other.
Step 3: Nail-Down Engineered Hardwood Flooring
- Secure the First Row: Lay the first row down and nail it to the subfloor with a finish nailer. Use spacers to leave a gap from the wall.
- Add Additional Rows: Continue to install the remaining rows using a staple gun or finish nailer to secure the boards.
Tips for a Smooth Installation
- Plan Your Layout: Before starting, dry lay the planks to get an idea of the layout. This helps avoid small, uneven cuts at the end of the room.
- Stagger the Seams: Always stagger the seams between planks for a more natural look and better durability.
Final Touches
Once the floor is installed, reinstall the baseboards. Clean up any excess glue and enjoy your beautiful new engineered hardwood floor.
Ready to take on your next home improvement project? Explore more news and tips on this website to keep your space looking its best!