Flooring
How to Install Vinyl Plank Flooring in Your Kitchen
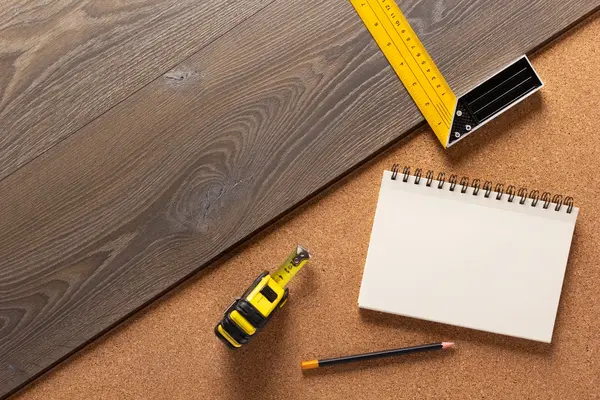
Installing vinyl flooring can transform any space, making it both stylish and durable. Whether upgrading a kitchen or a living room, this guide will walk you through the process. Proper preparation and the right tools ensure a flawless finish.
Preparing the Floor Before Installation
Start by clearing the room of furniture and appliances. If necessary, turn off gas lines for safety. Remove baseboards using a utility knife and pry bar. Then, inspect the existing floor. If the old flooring needs removal, cut it into sections for easy disposal. A level surface is essential for smooth installation.
Laying the Vinyl Planks
Begin by placing the first plank, leaving a ¼-inch gap from the wall for expansion. Use full planks for the first row and stagger the joints in following rows. Measure and cut pieces carefully for edges and obstacles. A jigsaw helps achieve precise cuts around corners and fixtures. Use a tapping block and rubber mallet to secure planks without damage.
Adding the Final Touches
Install transition pieces at doorways and between different flooring types. Reattach baseboards, sealing gaps with caulk for a seamless look. Clean the new floor by sweeping and mopping, avoiding harsh chemicals that could damage the surface.
Tips for a Perfect Installation
- Regularly check alignment as you work.
- Apply gentle pressure with a rubber mallet to lock planks in place.
- Work methodically in sections to ensure consistency.
By following these steps, you can install vinyl flooring with confidence. The right approach guarantees a durable and visually appealing result. For more home improvement tips, explore our latest articles on this website.