Plumbing
Simple Guide to Plumbing Trap Replacement
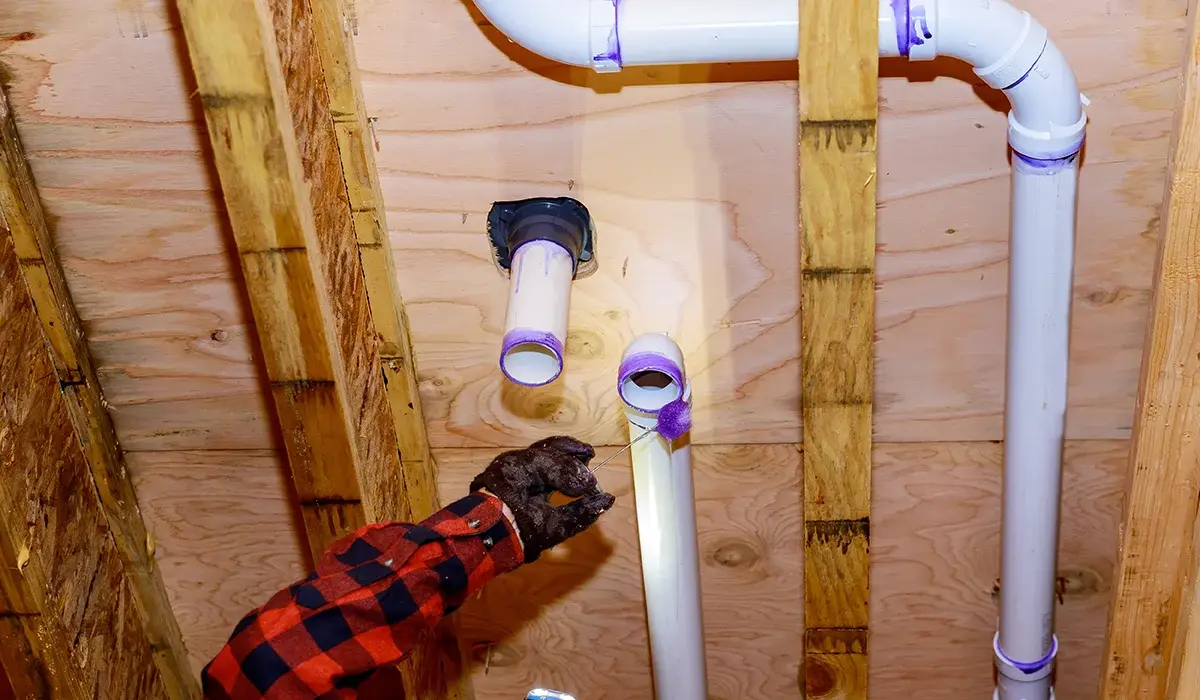
Plumbing Trap Replacement Guide: How to Replace a Whole-House Plumbing Trap
Plumbing traps play a vital role in keeping sewer gases out of your home. These U-shaped devices create a water seal, protecting indoor air quality. Over time, however, traps can corrode or fail. That’s why this Plumbing Trap Replacement Guide helps you safely tackle the issue and restore your plumbing system’s reliability.
What Is a Whole-House Plumbing Trap?
A whole-house plumbing trap, often called a house trap, sits where the main sewer line exits the building. This essential component blocks dangerous sewer gases while offering clean-out access. Though not required everywhere, older homes commonly include one.
Why Whole-House Traps Matter
Whole-house traps do more than block gas. They serve several functions that help protect your home’s plumbing system and residents.
- They reduce the risk of sewer gas entering your home.
- They provide a clean-out point for the main sewer line.
- They guard against plumbing system backflow.
Signs You Need Plumbing Trap Replacement
Not sure if your plumbing trap needs replacing? Watch for these common warning signs around your home.
- Constant sewer odors near drains or outside.
- Multiple slow drains throughout the house.
- Rusted or visibly damaged cast-iron plumbing trap.
- Recurring drain backups or foul smells.
Tools and Materials Needed
Before you begin, collect all the tools and parts listed below to complete your Plumbing Trap Replacement Guide project.
- Soil pipe cutter and torque wrench
- 3-pound sledgehammer and ball-peen hammer
- Cold chisel and tape measure
- No-hub couplings and cast-iron pipe
- Clean-out fitting and angled fitting
Step-by-Step Plumbing Trap Replacement Guide
Follow this detailed Plumbing Trap Replacement Guide to replace your old trap safely and effectively.
Step 1: Cut the Old Trap
Wrap the soil-pipe cutter chain around the pipe close to the existing trap. Ratchet it to complete the cut.
Step 2: Break and Remove
Use a sledgehammer to loosen the trap’s opposite end. Remove the entire old trap carefully and discard it properly.
Step 3: Clean the Pipe End
Use a cold chisel and hammer to remove old lead and oakum. Clean the pipe before fitting new components.
Step 4: Build the New Assembly
Connect an angled fitting to a clean-out fitting using no-hub couplings. Tighten all clamps securely with a torque wrench.
Step 5: Cut and Join New Pipe
Measure and cut a pipe section to fit between the new fittings and the main line. Attach using couplings.
Step 6: Final Connections
Cut and fit another pipe length to link the other side of the main pipe to the angled fitting. Secure all joints.
Additional Tips for Successful Replacement
Follow these smart strategies to make your plumbing trap replacement smooth and hassle-free.
- Double-check pipe measurements before making cuts.
- Test the new system for leaks before covering up any area.
- Keep fittings straight, aligned, and level for long-term performance.
Important Considerations Before Starting
Safety First
Wear gloves and protective glasses while working. Ensure proper ventilation to reduce exposure to harmful dust or fumes.
Know Local Plumbing Codes
Always check regional building codes before starting. Some areas require permits or professional assistance for trap replacement.
Dispose of Old Materials Responsibly
Contact local waste services about proper cast-iron pipe disposal. Never dump materials illegally or irresponsibly.
Final Testing Process
Run water through every connected fixture. Watch all joints for leaks and sniff for lingering sewer gas smells. Fix issues promptly.
Document the Work
Take clear photos and notes. Document every step to simplify inspections, resale transactions, or future plumbing work.
When to Hire a Professional
Call a licensed plumber if:
- You don’t own the right tools.
- You feel uncomfortable cutting large pipes.
- Local codes require professional installation.
- You face unexpected issues during replacement.
Explore More with Our Plumbing Trap Replacement Guide
Replacing a whole-house plumbing trap doesn’t have to be intimidating. With the right tools and guidance, you can protect your home’s plumbing.
Explore more home improvement tips and repair tutorials on this website!