Kitchen
How to Remove and Replace a Tile Backsplash
How to Remove and Replace Tile Backsplash Like a Pro
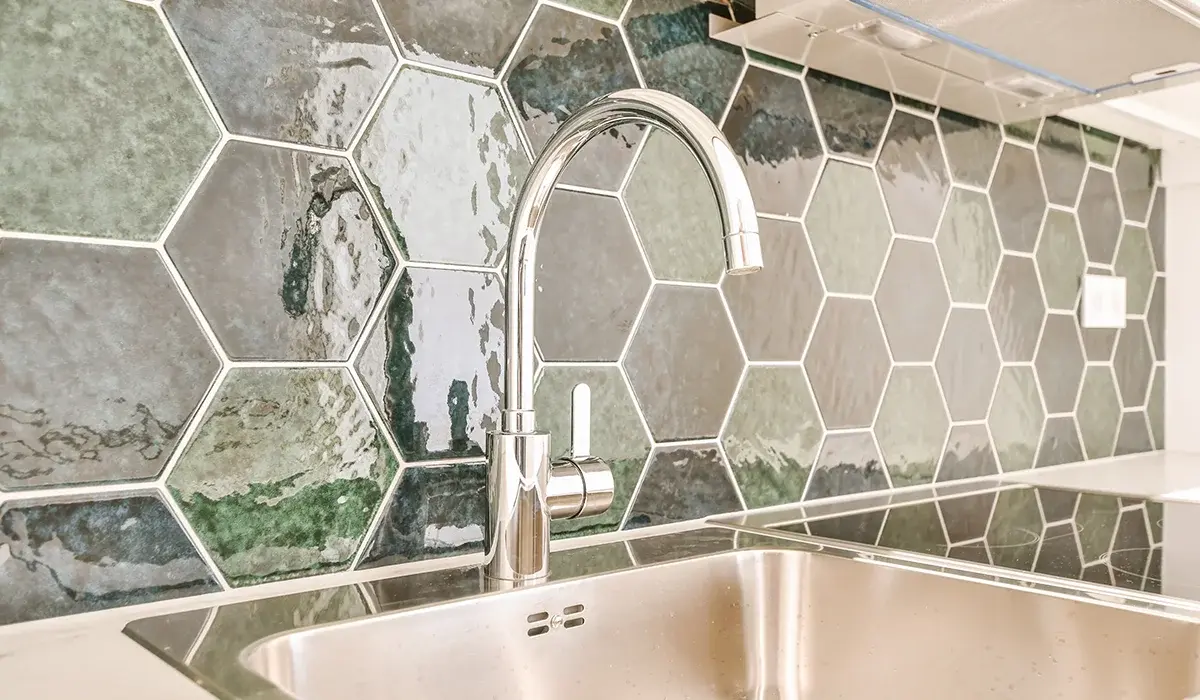
Replacing an old tile backsplash can quickly transform your kitchen’s style and atmosphere. This upgrade adds elegance and charm.
Whether you’re looking to update aesthetics or fix damage, tile removal and installation can significantly impact your kitchen’s look.
In this detailed guide, we’ll show you how to remove and replace tile backsplash with step-by-step instructions and helpful tips.
Tools and Materials You’ll Need for the Job
Before starting the project, make sure you have all the necessary tools and materials ready for efficient, smooth progress.
Essential Tools
- Flat pry bar
- Hammer
- Tile cutter or wet saw
- Grout float
- Grout sponge
- Pointed trowel
- Putty knife
- Scraper
Required Materials
- Thin-set mortar
- New backsplash tiles
- Liquid silicone sealer
Protect the Kitchen Before You Start
Protecting nearby surfaces prevents unwanted damage and keeps your kitchen cleaner during the tile removal and replacement process.
- Cover countertops with cardboard or drop cloths
- Remove items from surfaces to avoid damage
- Tape edges of appliances and cabinets
- Ensure proper ventilation in your workspace
How to Remove Old Backsplash Tiles
Removing your outdated backsplash is the first and most important part of the process. Take your time and proceed carefully.
Step-by-Step Tile Removal
- Start from a top corner and move downward carefully
- Use a hammer and pry bar to loosen each tile gently
- Scrape off leftover grout or adhesive using a putty knife
- Smooth out the wall using a wide scraper and sponge
You now have a clean slate to remove replace tile backsplash successfully with modern, stylish tiles that suit your kitchen.
Preparing the Wall Surface for New Tiles
A well-prepped wall ensures that new tiles will adhere properly and look flawless once installation is complete.
- Remove dust and debris with a damp cloth
- Patch holes using thin-set mortar and let it dry
- Smooth the surface using a flat trowel and sponge
- Mark your reference lines clearly to guide tile layout
Plan Your Layout Before Installation
Planning your tile layout is essential for symmetry and balance. A good plan avoids unnecessary cuts or misalignment later.
Choose the Right Tiles
Select durable, easy-to-clean materials like ceramic, porcelain, or glass. Match the tile’s style with your kitchen decor.
Buy 10% more tiles than required to cover breakage and cuts.
Layout Planning Tips
- Dry-lay tiles on a flat surface first
- Mark your layout with a pencil directly on the wall
- Make adjustments for electrical outlets or trim edges
- Measure twice to reduce installation errors
Install Your New Tile Backsplash
Once your wall is ready, it’s time to remove replace tile backsplash with your chosen tile design using precise techniques.
Adhesive Application
- Mix thin-set mortar based on package directions
- Apply adhesive to small sections with a notched trowel
- Press tiles firmly into the mortar starting from the center
Tile Setting Tips
- Use spacers between tiles for even spacing
- Level your tiles continuously for a polished look
- Continue upward and outward for consistent coverage
- Cut tiles as needed to fit around corners or outlets
Tile Cutting and Finishing
- Use a wet saw or manual cutter depending on the tile type
- Smooth sharp edges using a tile file
- Place cut tiles in smaller or hidden areas if possible
Grouting and Final Touches
After your tiles are firmly in place and the adhesive is cured, it’s time to finish your backsplash with clean grout lines.
- Mix grout according to the package instructions
- Spread grout with a rubber float over the entire surface
- Wipe away excess grout with a damp sponge
- Allow grout to dry fully before sealing with silicone
Maintain Your New Tile Backsplash
Keeping your backsplash clean preserves its beauty and increases its lifespan.
Cleaning and Maintenance Tips
- Wipe down tiles regularly using a damp cloth
- Avoid using harsh abrasives on tiles or grout
- Clean spills immediately to prevent staining
Long-Term Care
- Reseal grout lines once per year
- Replace broken tiles quickly to avoid spreading damage
- Inspect for mold or water damage during routine cleaning
Conclusion
With careful preparation, proper tools, and attention to detail, you can easily remove replace tile backsplash yourself. This rewarding DIY project enhances your kitchen’s look and function while saving money on professional labor.
Explore more news on this website to discover expert tips for all your home improvement projects.