Roofing
Step-by-Step Guide to Cutting Metal Roofing
Cutting Metal Roofing: A Step-by-Step Guide
Metal roofing is durable and long-lasting, but it requires precise cuts for proper installation. Using the right tools ensures clean, accurate results. Follow this guide for safe and effective cutting techniques.
Tools Required
- Aviation Snips: Ideal for cutting small, detailed sections of trim.
- Double Cut Power Shear: Best for long, straight cuts on metal panels.
- Profile Nibbler: Great for cutting along ribs and curved sections.
Materials Required
- Metal roofing panels
- Metal roofing trim
Steps for Cutting Metal Roofing
Step 1: Cutting a Notch for Chimneys or Sidewalls
When working around chimneys or sidewalls, cutting a notch ensures proper panel alignment.
How to Cut a Notch:

- Mark the Notch: Mark the desired notch location to guide your cuts.
- Cut Across the Panels (Over the Ribs): Use a Profile Nibbler to cut across ribs. Move slowly and guide the tool steadily for precise results.
- Cut for Long, Straight Cuts: Use a Double Cut Shear to achieve clean, straight cuts along the flat parts of the panel.
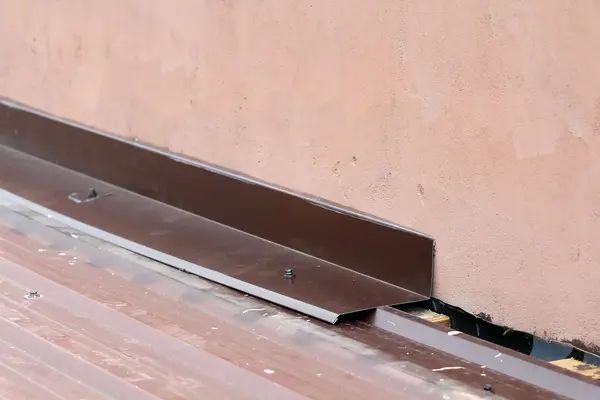
Step 2: Cutting and Bending Trim Ends
Cutting and bending trim ends ensures a tight seal along roof edges.
How to Cut and Bend Trim Ends:
- Make the Cuts: Use Aviation Snips to create 1-inch cuts at each bend to form tabs.
- Bend the Tabs: Use a Hand Seamer to fold the tabs evenly for a secure fit.
- Shape the Trim: Adjust cuts and bends to match your roof’s design.
Additional Tips
- Wear Safety Gear: Gloves and goggles protect you from sharp edges and debris.
- Measure Twice, Cut Once: Double-check all measurements before cutting.
- Handle Panels Carefully: Metal panels can be sharp and heavy; use stable work surfaces for support.
By following these steps, you can master cutting metal roofing safely and accurately. Explore more helpful guides and news on this website.