Kitchen
Steps to Remove a Kitchen Faucet
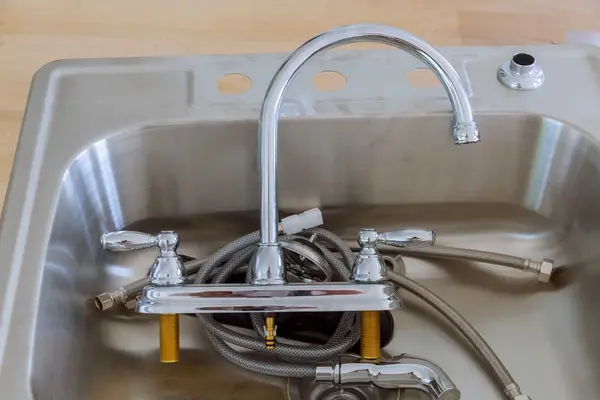
Remove a kitchen faucet might sound intimidating, but with the right tools and techniques, it’s a manageable task for DIY enthusiasts. Whether you’re replacing the faucet or reusing it, here’s a guide to help you through the process.
Tools Required:
- Penetrating oil
- Headlamp
- 6-inch adjustable wrench
- Tongue-and-groove pliers
- Basin wrench
- Safety glasses
- White vinegar
- Towel or rag
Step-by-Step Process:
Step 1: Spray with Penetrating Oil
Start by spraying penetrating oil on key areas where parts may be stuck due to humidity or buildup. Focus on the following:
- Both ends of the supply lines (at the shut-off valves and the faucet)
- The sprayer hose (if your faucet has one)
- The large nuts holding the faucet to the sink Allow the oil to soak for a few minutes to loosen any stubborn connections.
Step 2: Turn Off Water
Shut off the water supply before removing the faucet:
- Turn on the faucet to release any remaining water in the lines.
- Go underneath the sink and turn the shut-off valves clockwise to close them.
- Check that the water stops running. If not, you may need to turn off the main water supply to the house and replace the shut-off valve.
Step 3: Remove Supply Lines
To disconnect the faucet from the water supply, use a 6-inch adjustable wrench to loosen the brass nuts connecting the supply lines to the shut-off valves. Turn the nuts counterclockwise.
- If the supply lines are old, support the valve with your hand or tongue-and-groove pliers to prevent putting excessive torque on the pipes.
- If the braided hoses are twisting, grip the hose with the pliers and use the wrench to loosen the nuts.
It’s not mandatory to remove the supply lines from the faucet, but doing so can make the job easier, especially when using a basin wrench for hard-to-reach spots.
Step 4: Disconnect the Sprayer (if applicable)
If your faucet has a sprayer attachment, disconnect the hose:
- Locate the quick-connect fitting under the faucet.
- Pinch the fitting to release the hose from the faucet.
Step 5: Remove Kitchen Faucet Mounting Nuts
With the supply lines and sprayer hose out of the way, you can access the mounting nuts that hold the faucet in place. These are typically plastic and can be unscrewed by hand. If they’re too tight, use a basin wrench to turn the nuts counterclockwise until they loosen.
- You may need to hold the base of the faucet in place with your tongue-and-groove pliers to prevent it from spinning as you loosen the nuts.
Step 6: Pull Faucet and Sprayer Out
With the mounting hardware removed, carefully pull the faucet out. If it feels stuck due to buildup, gently wiggle it free. If there’s a plastic base left behind, save it if you plan to reuse the faucet.
Step 7: Remove Faucet Residue
After removing the faucet, clean any residue left behind:
- Use a rag to wipe down the area.
- For hard water stains or stubborn buildup, soak a rag in white vinegar and leave it on the stains for 10 minutes before wiping.
- Repeat as needed until the surface is clean.
By following these steps, you’ll be able to safely and efficiently remove your kitchen faucet, whether for a replacement or repurposing.
For more home improvement insights, explore our latest articles on this website.