Flooring
Tile Installation Basics: Expert Tips and Best Practices
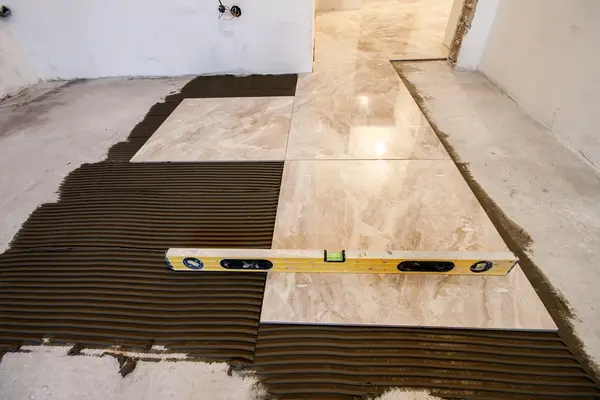
Learning tile installation basics can help you achieve a professional finish for your flooring or wall project. Whether you’re a DIY enthusiast or working with a professional, understanding the right techniques ensures lasting results. Follow these essential steps for a smooth installation process.
Choosing the Right Base
A stable base is crucial to prevent tile cracking or shifting. Consider these options:
Mortar Bed
- Provides a solid, hand-laid concrete base for enhanced adhesion and leveling.
Cement Board/Fiber Cement
- Durable, water-resistant, and ideal for moisture-prone areas.
Foam Board
- Lightweight, waterproof, and easy to install with proper sealing.
Self-Leveling Underlayment
- Ideal for correcting uneven floors before installing tile.
Uncoupling Membrane
- Prevents surface movement from affecting tiles above.
Planning a Balanced Layout
Proper layout ensures a symmetrical and appealing tile finish:
- Create two perpendicular reference lines intersecting at the room’s center.
- For wall tiles, use a level or laser to ensure straight lines.
- Perform a dry layout to visualize tile placement and reduce awkward cuts.
Tile Setting Essentials
Choosing the right adhesive is vital for proper bonding:
Thinset
- A cement-based mortar suitable for most tile installations.
Modified Thinset
- Enhanced with latex for better bonding strength.
Mastic
- Pre-mixed and best for wall tiles but unsuitable for floors.
Epoxy Mortar
- Strong and stain-resistant, ideal for glass or stone tiles.
Cutting and Installing Tile
- Use a wet saw for precise, clean cuts.
- Apply adhesive evenly and back-butter tiles for a stronger bond.
- Maintain an 80% coverage rate for proper adhesion.
Grouting and Finishing
- Choose grout based on moisture exposure and traffic.
- Spread grout with a float, wipe away excess, and allow proper curing.
- Seal marble and other porous tiles regularly for protection.
Mastering tile installation basics ensures a smooth process and lasting results. For more home improvement tips, explore more news on this website.
Continue Reading