Lightning & Electrical
Simple Instructions for Installing Wall Sconces
Wall Sconce Installation Guide: Light Up Your Space with Style
Installing wall sconces can add both function and flair to your living space. This Wall Sconce Installation Guide walks you through every step, offering essential insights for a bright and stylish home. Whether you want to enhance your reading nook, accent your mantle, or simply elevate your lighting game, this guide will help.
Incorporating wall sconces gives your room focused lighting and adds decorative appeal. From selecting the perfect height to wiring safely, we’ll cover it all in detail.
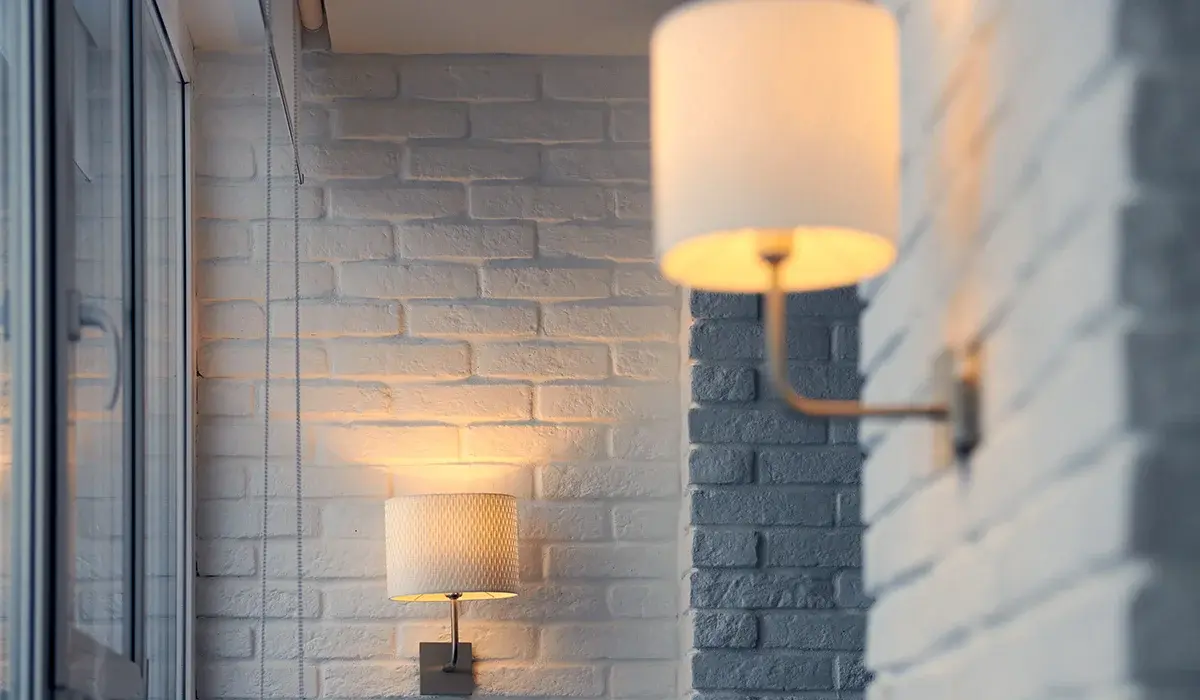
Choosing the Right Placement for Your Sconces
Proper placement creates harmony in your space. Consider the room’s layout and furniture before finalizing the location.
Recommended Heights for Sconce Installation
Use these common placement guidelines to ensure symmetry and visual appeal:
- Above a headboard: 48 to 60 inches from the floor
- Beside a bathroom vanity: 60 to 70 inches high
- For accent or task lighting: 60 to 72 inches above the ground
In the case featured here, an expert used the fireplace mantle as a baseline. This trick makes your lighting appear visually aligned with your room’s focal point.
Step-by-Step Wall Sconce Installation Guide
Let’s explore how to install wall sconces from start to finish. This Wall Sconce Installation Guide breaks it down clearly and safely.
Step 1: Mark Your Locations
Choose a spot above an existing outlet. Mark the switch and sconce areas with painter’s tape. Use a stud finder to locate studs.
Step 2: Check for Basement Clearance
Before drilling, check the basement below your chosen area. Look for hazards and identify a nearby junction box as a power source.
Step 3: Cut Entry Holes
Use a drywall saw to cut holes for the switch and the sconce electrical box. Trace the shape using the box as a stencil.
Step 4: Run the Wire from the Basement
Use fish tape and wire to run power from the junction box to your switch and sconce location. Leave loops for connections.
Step 5: Connect to Power Safely
In the basement, run your power wire to the junction box. Strip, twist, and cap wires to connect them. Use wire bushings for safety.
Step 6: Install the Light Switch
Back upstairs, mount the electrical box and wire the light switch. Connect black wires to gold screws. Connect the white wires together.
Create a pigtail with copper wire to connect the ground wire to the green grounding screw. Install the switch and secure the faceplate.
Step 7: Mount the Sconce
At the wall sconce location, feed wires through the box. Secure the mounting bracket, then wire the sconce: black to black, white to white, and copper to copper.
Push wires into the box. Fit the sconce over the bracket and tighten the mounting nuts.
Step 8: Restore Power and Test
Turn your breaker back on. Flip the switch and test the light. It should work perfectly, illuminating your space beautifully.
Essential Tools and Materials for the Project
Gather everything you need before you start to streamline the process and prevent delays:
- Fish tape
- Painter’s tape
- 14/2 building wire
- Electrical boxes
- Wire connectors
- Light switch and cover
- Wall sconce with hardware
- Wire strippers and pliers
- Drywall saw
- Stud finder
Tips for a Smooth Installation
Make installation easier by following these expert tips:
- Always shut off power at the breaker box.
- Use a non-contact voltage tester before touching wires.
- Keep wires tidy and avoid overstuffing electrical boxes.
- Use UL-rated products for added safety.
This Wall Sconce Installation Guide allows you to confidently brighten dark corners and elevate any room’s look. With proper technique and the right tools, anyone can install sconces efficiently and safely.
Add More Sconces Throughout Your Home
Once you’ve mastered this method, expand your lighting upgrade to other rooms. Add sconces in bedrooms, hallways, or home offices. With thoughtful placement and careful wiring, your home becomes more stylish and better lit.
Final Thoughts on Installing Wall Sconces
With this step-by-step Wall Sconce Installation Guide, you can transform any dull space into a well-lit and elegant one. Wall sconces serve both practical and decorative roles, and with the right approach, anyone can install them.
So grab your tools, plan your placement, and light up your home with ease.
Explore more news on this website for DIY lighting projects, expert guides, and home improvement tips to brighten your life and home.