Painting
Step-by-Step Wood Paneling Painting Guide
Wood Panel Painting Guide: Transform Dull Walls into Stylish Statements
Wood panel walls add character but can feel outdated without a modern touch. Painting wood panels refreshes your space completely.
This Wood Panel Painting Guide will walk you through each step to ensure a smooth and lasting finish.
Whether you’re updating one room or your whole home, proper prep and painting techniques make all the difference.
Why Paint Wood Panels?
Painted wood panels brighten spaces and create a cleaner, more modern appearance.
Many homeowners choose to paint instead of removing paneling, which saves money and time.
With the right approach, painted wood walls look beautiful, elegant, and professionally finished.
Plus, painted panels work well with various interior styles, from farmhouse to contemporary design.
Step 1: Clean the Wood Panel Surface
Courtesy of Angi
Start by cleaning the paneling thoroughly. Dirt and grime prevent paint from sticking properly.
Use a mild detergent with warm water and scrub each panel with a sponge or cloth.
Don’t skip this step. Clean surfaces allow primers and paints to adhere more effectively and evenly.
Once done, let the panels dry completely before moving to the next stage.
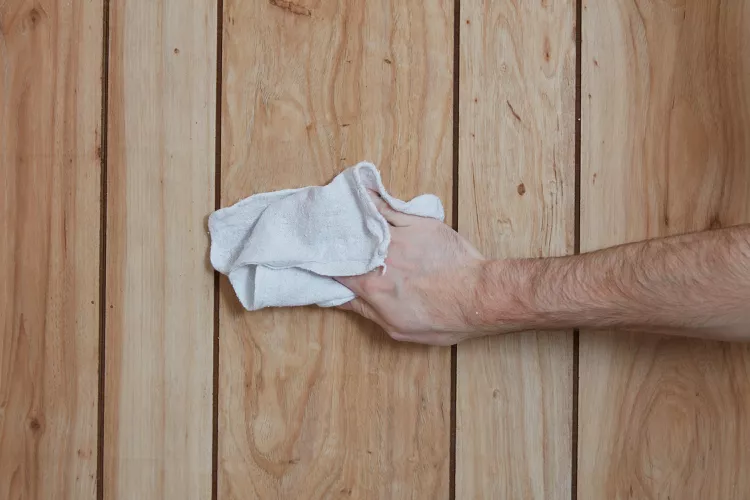
Step 2: Sand the Panels for Better Adhesion

Courtesy of Angi
Next, sand the wood panels using medium-grit sandpaper to rough up the surface.
This process helps primer and paint grip the slick finish commonly found on wood panels.
Focus on glossy areas that might resist paint. Sand until the surface feels lightly textured.
After sanding, wipe down the walls with a damp cloth to remove all dust and debris.
Step 3: Fill the Grooves If Desired
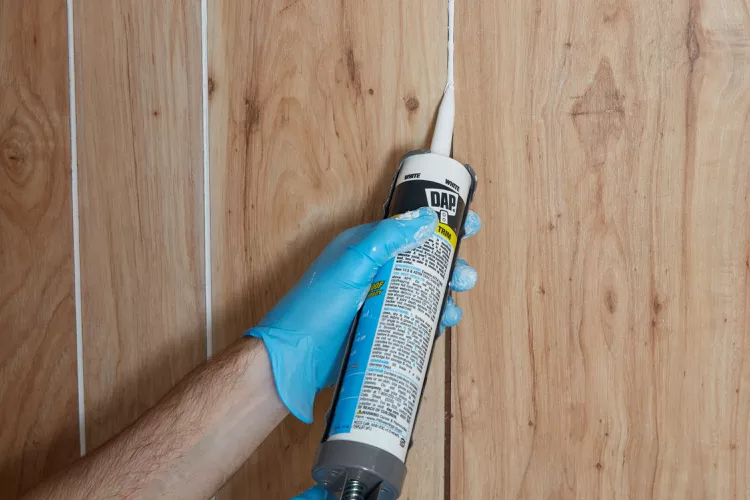
Courtesy of Angi
Some homeowners prefer a smooth wall over visible wood grooves. You can fill these lines using spackle or joint compound.
Apply the filler with a putty knife, spreading it evenly across each groove in the paneling.
Once it dries, sand the area until smooth and level with the surrounding panel surface.
Filling grooves gives a drywall-like appearance and a sleek, updated result.
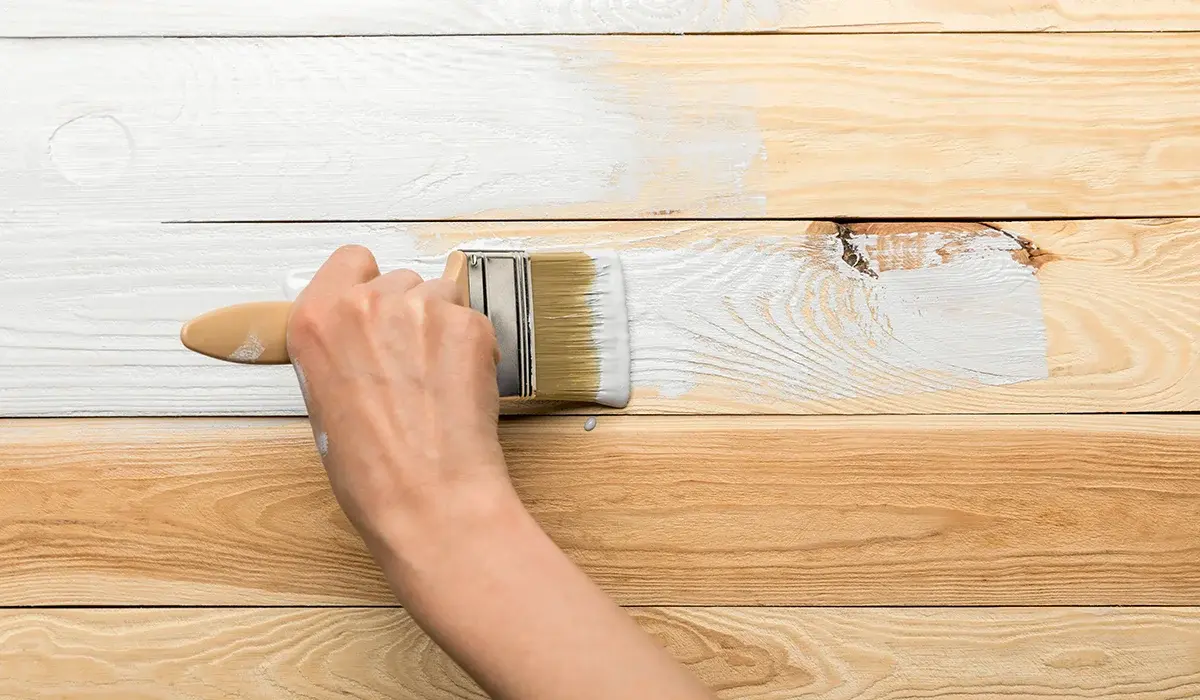
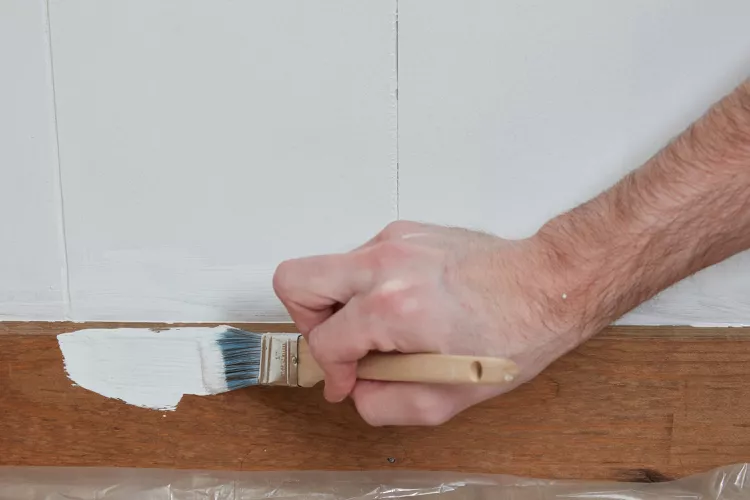
Step 4: Apply a High-Quality Primer
Courtesy of Angi
Before painting, apply a primer suited for glossy wood surfaces. Use oil-based or bonding primers for best results.
Primer seals the surface and provides an even base for your paint color to shine through.
Use a brush to cut in edges and a roller for flat surfaces to ensure consistent coverage.
Let the primer dry fully before applying any paint. Follow the product’s recommended drying time.
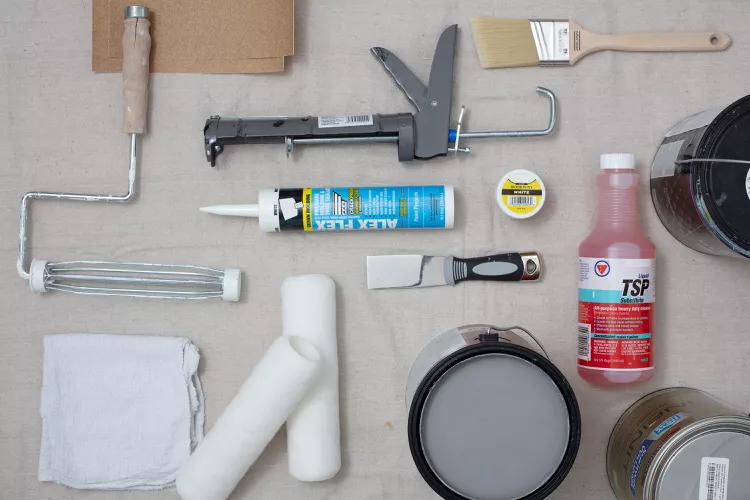
Step 5: Use Proper Painting Tools
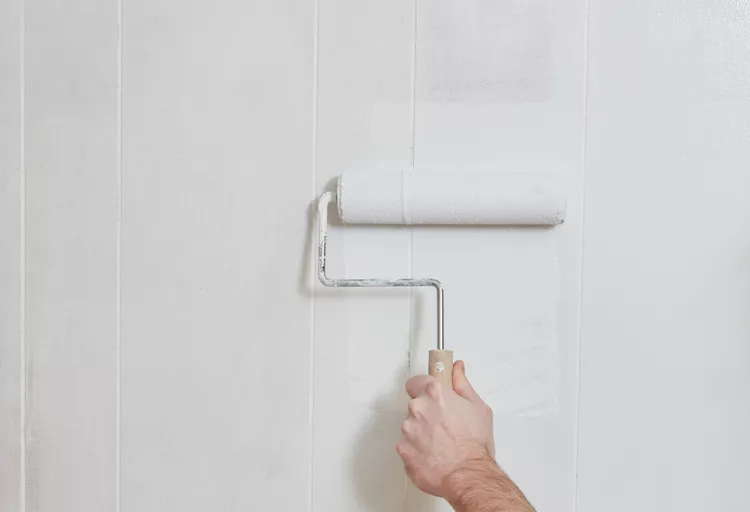
Courtesy of Angi
Your tools impact how smoothly the paint goes on. Use high-quality brushes and microfiber rollers.
Cut in corners and edges with an angled brush for sharp, professional-looking lines.
Use a roller with a short nap to paint flat areas without leaving heavy texture behind.
Apply paint in thin, even coats to prevent drips and uneven patches.
Step 6: Let Each Layer Dry Completely
Courtesy of Angi
Patience pays off. Allow each coat of primer and paint to dry before adding the next.
Drying time ensures a strong bond and helps avoid smudging, bubbling, or uneven finish.
Check manufacturer guidelines for drying time and ideal room temperature during application.
Avoid rushing, especially in humid conditions that slow down the paint’s drying process.
Wood Panel Painting Guide: Tips to Avoid Common Mistakes
Courtesy of Angi
This Wood Panel Painting Guide also helps you sidestep frequent errors that ruin finishes.
Never skip sanding, even if your paint claims to bond well. It’s your secret to long-term durability.
Always use primer, even on already-painted panels. Primer neutralizes colors and helps paint stick properly.
Test your paint color in a small spot first, especially with darker hues or bold finishes.
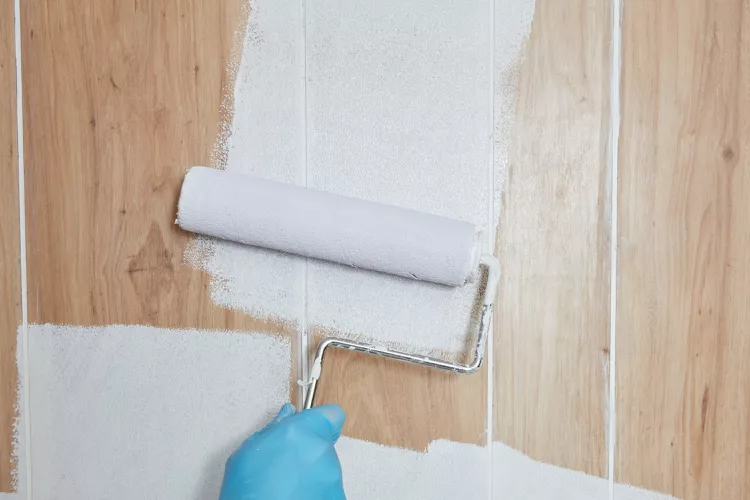
Wood Panel Painting Guide: Use the Right Paint for Lasting Results
Choosing the correct paint makes a huge difference in finish quality and durability.
This Wood Panel Painting Guide recommends using semi-gloss or satin latex paint for interior paneling.
These finishes clean easily and resist wear better than matte options.
Apply two coats for best results, allowing ample drying time between each coat.
Finishing Touches and Cleanup
After your final coat dries, inspect the walls under natural light for any missed spots.
Touch up areas as needed using the same technique and tools you started with.
Remove painter’s tape carefully to avoid peeling fresh paint from the walls.
Clean your brushes and rollers immediately for future use and proper storage.
Keep Your Painted Panels Looking Fresh
To maintain the look, clean painted panels regularly with a damp cloth and mild soap.
Avoid abrasive cleaners or scrubbing pads that can damage the painted surface.
Touch up chips or scuffs quickly to keep walls looking new year-round.
Repainting every few years will refresh your space without major renovations.
Conclusion: Create a New Look with Confidence
Painting wood panels may sound intimidating, but the right tools and steps ensure success.
This Wood Panel Painting Guide equips you with everything needed for a smooth, stunning finish.
From prep to paint, each phase plays a crucial role in the final look and durability.
Don’t rush the process, and you’ll enjoy beautifully updated walls for years to come.
Explore More News on This Website
Discover more home improvement tips, expert guides, and smart DIY advice.
Explore more news on this website and keep your home projects moving forward with confidence.